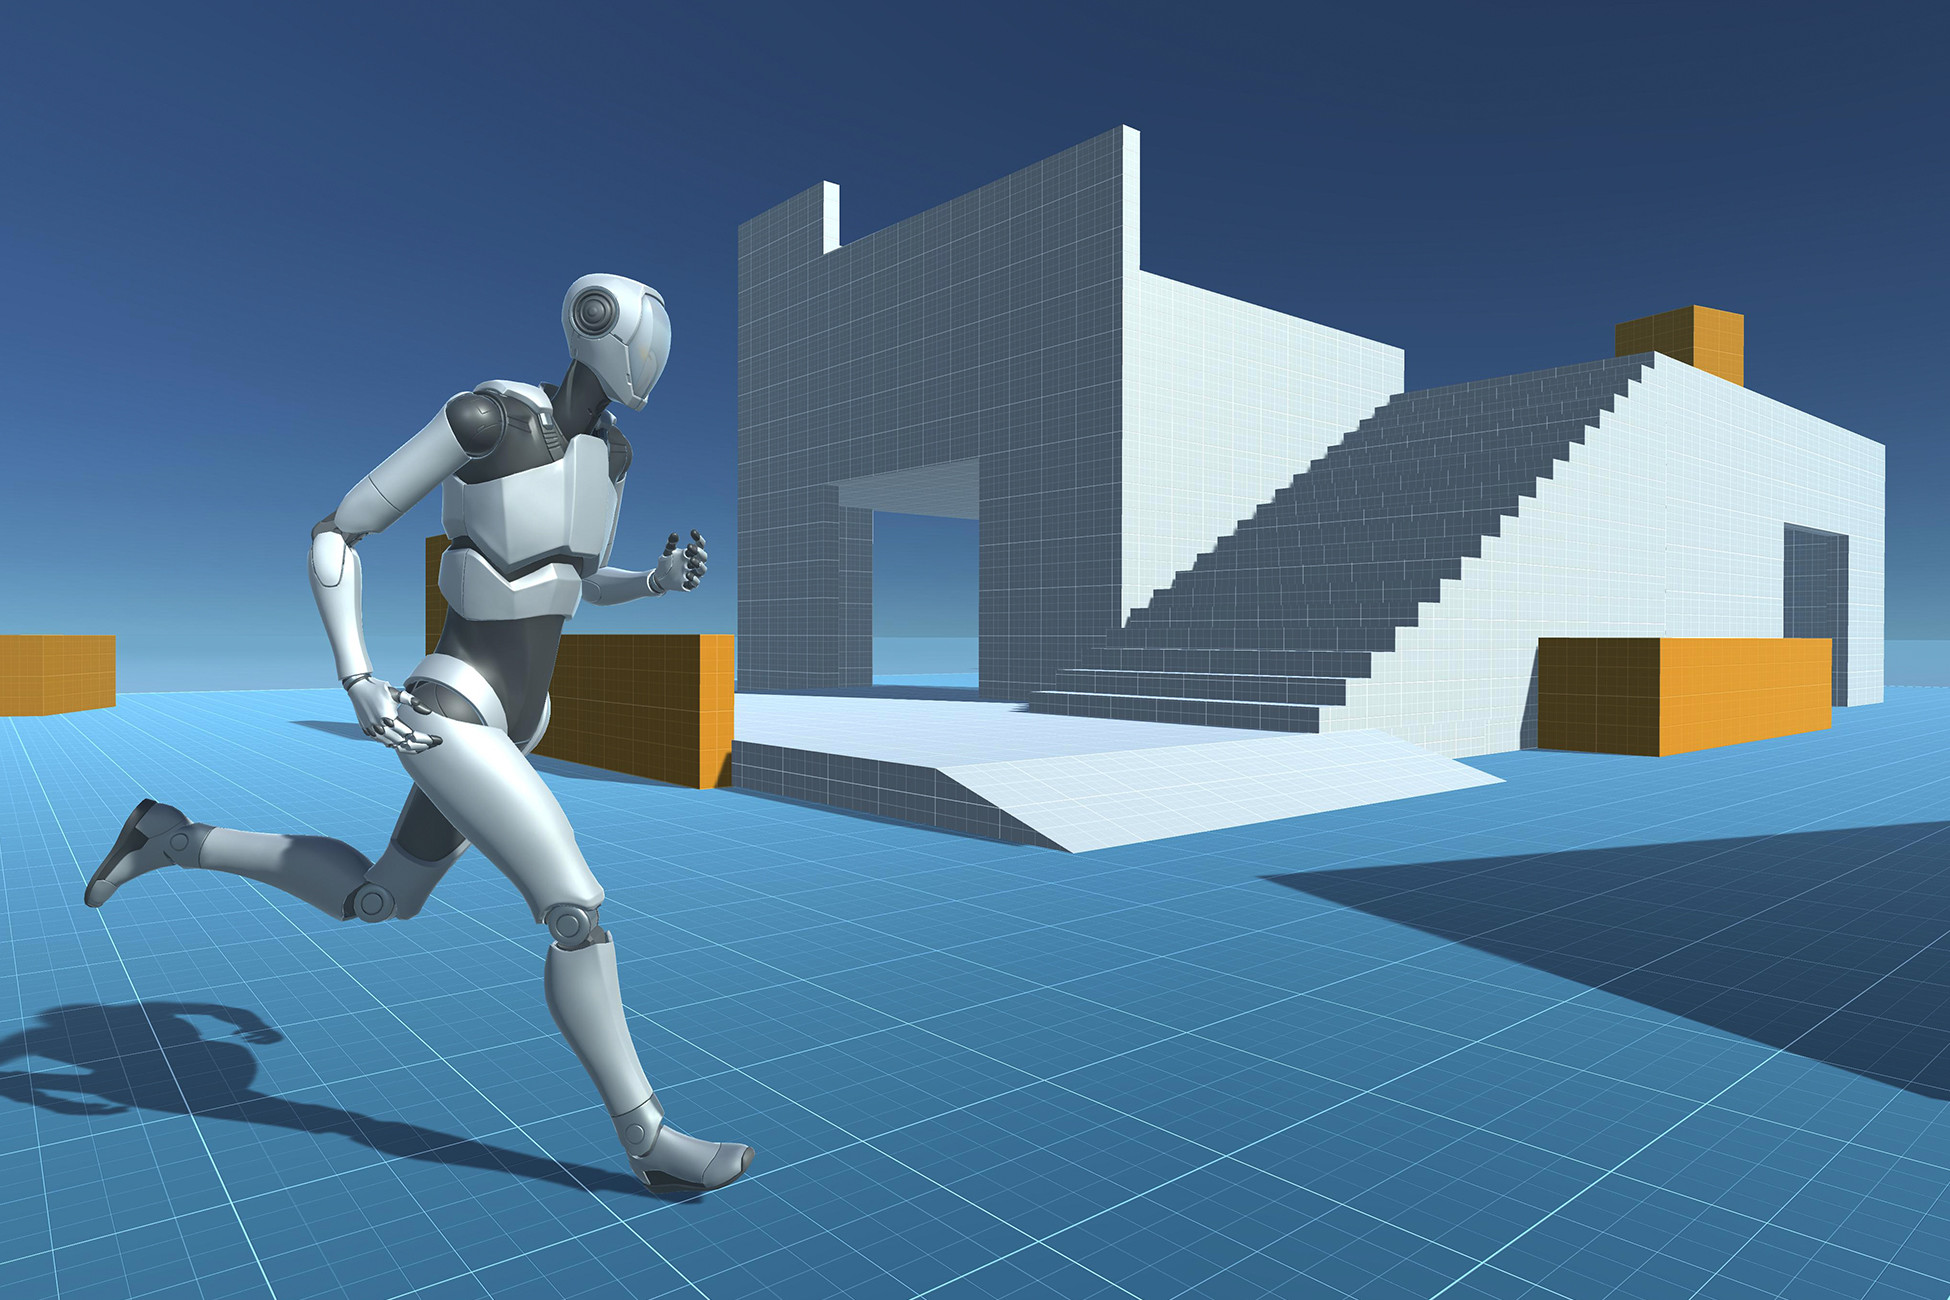
UnityのCinemachine、Animator、C#スクリプトを駆使してキャラクターを歩かせてみたいと思います。
概要
CinemachinePathで歩く軌道を設定します。実際に移動するキャラクターにはCinemachineDollyCartスクリプトをアタッチします。最後にC#スクリプトで移動とAnimatorの状態変更を行います。
手順
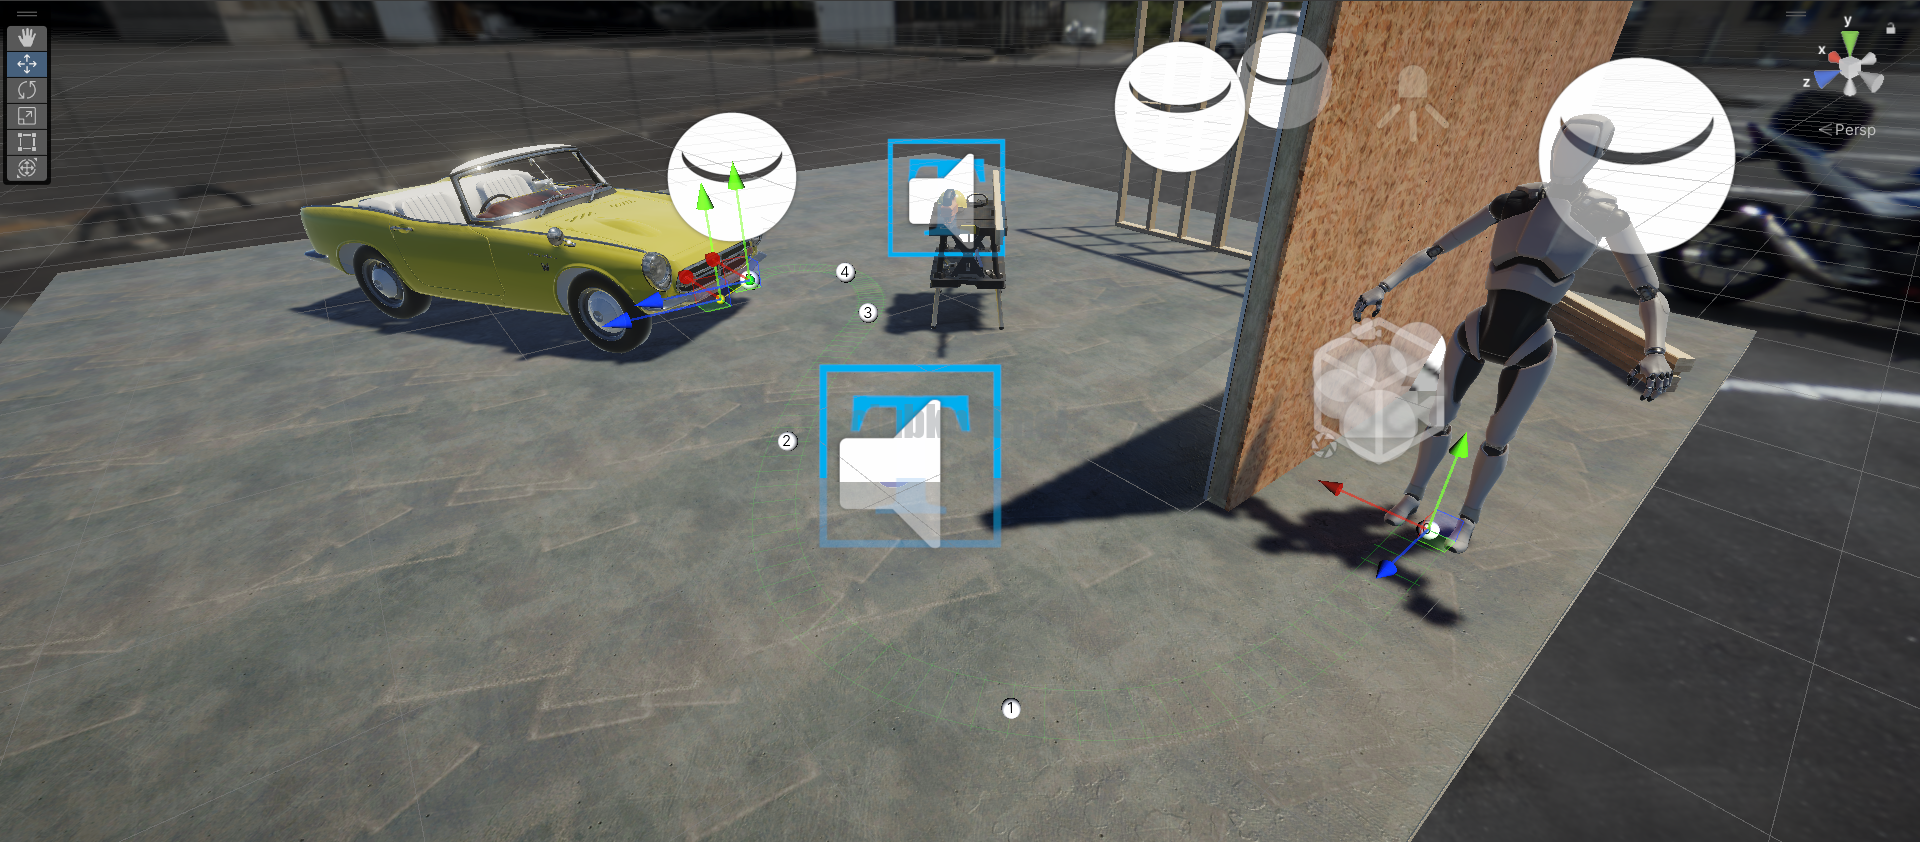
初めに作業するシーンを開きます。この手順では、UPRのサンプルシーンに少し手を加えたものを使用します。床面積を広げて、Starter Assets - Third Person Character Controllerのロボットとフリー素材の自動車を配置しています。なお、IBL用のHDR画像は自作の物で、作成に関する記事は当サイト内でご覧いただけます。
Starter Assets - Third Person Character Controllerはこちらです。
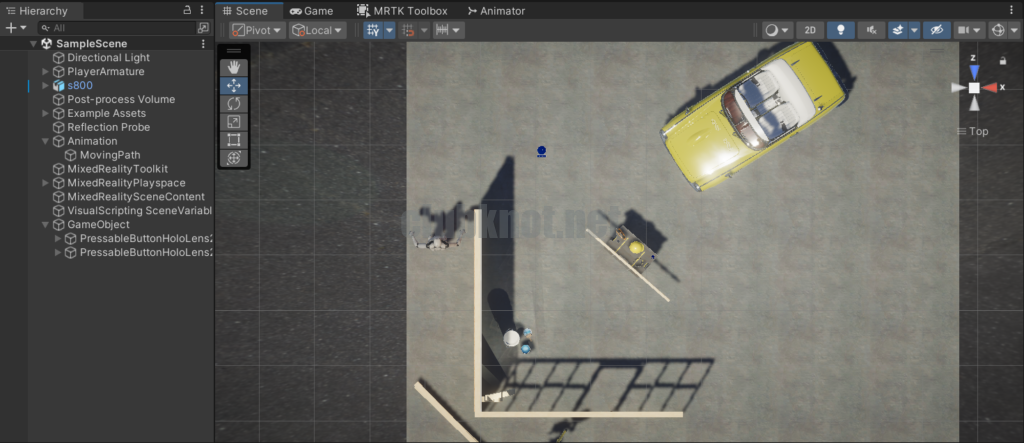
Hierarchyの+ボタンを押してCreate Emptyを選択し、空のゲームオブジェクトを作成しわかりやすい名前に変更します。図のMovingPathというオブジェクトがそれです(Animationという階層の中にありますがどこに配置しても問題ありません)。このオブジェクトにCinemachinePathというスクリプトをアタッチします。
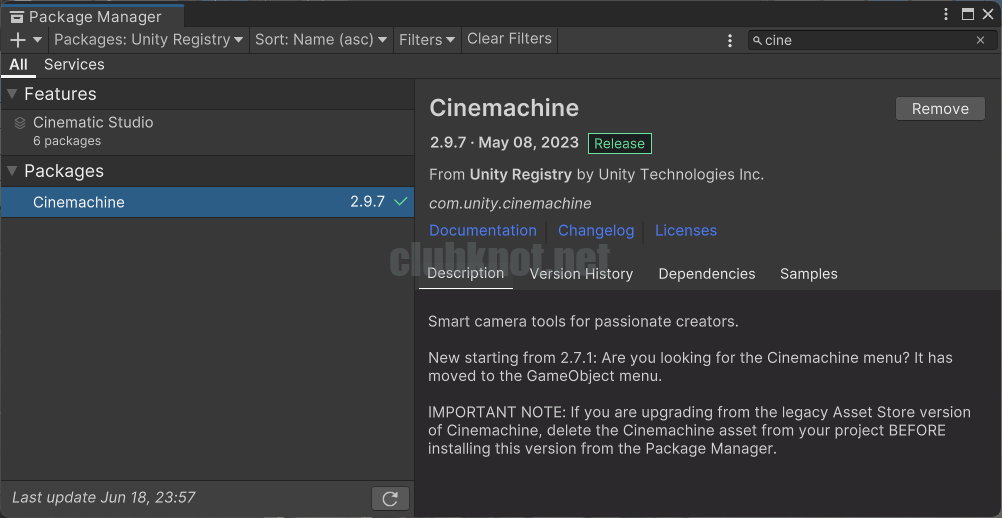
Cinemachineを使用するにはPackage Managerでインストールを実行する必要があります。Packages: Unity Registoryにあります。
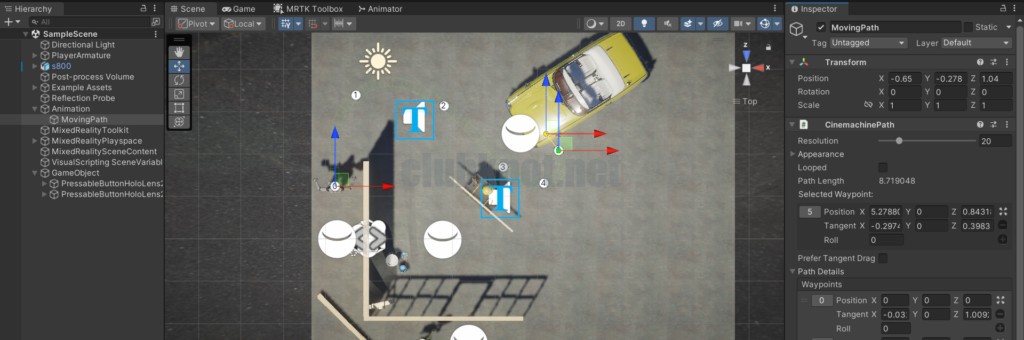
スクリプトをアタッチ出来たら、スクリプトの[Path Details]-[Wapoints]でパスを追加し軌道を作成します。
作成したら、今度は移動させたいキャラクターにCinemachine Dolly Cartスクリプトをアタッチします。また、AnimatorのAvatarにArmatureAvatarをセットしておきます。
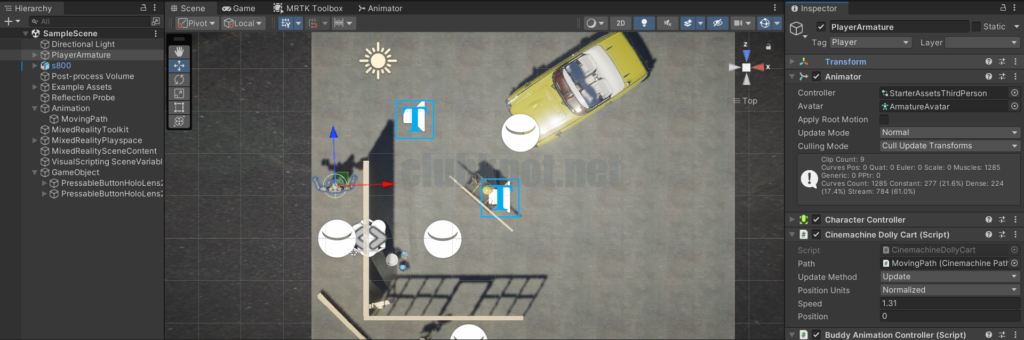
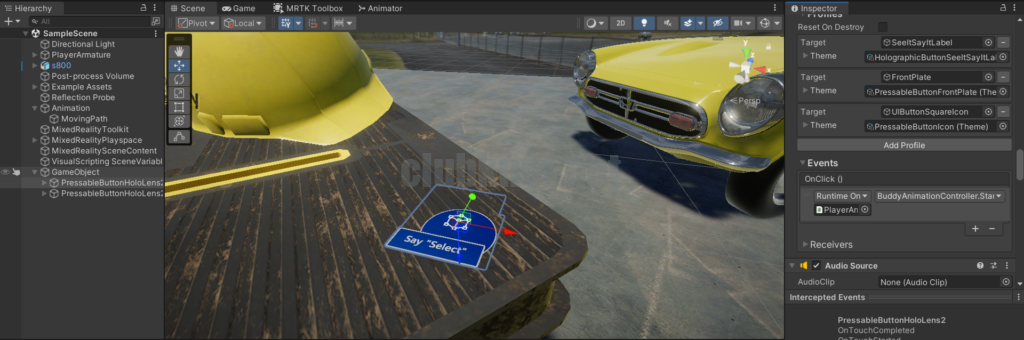
移動用のスクリプトを作成し、キャラクターにアタッチします。上のキャプチャではBuddy Animation Controllerというスクリプトです。
スクリプトの内容は次の通りです。
using Cinemachine;
using System.Collections;
using System.Collections.Generic;
using UnityEngine;

public class BuddyAnimationController : MonoBehaviour
{
    [SerializeField] float targetSpeed = 2.0f;
    [SerializeField] float targetMovingSpeed = .15f;

    Animator animator;
    CinemachineDollyCart dollyCart;

    // Start is called before the first frame update
    void Start()
    {
        {
            animator = GetComponent<Animator>();
            Debug.Log("animator : " + animator?.ToString());
            //animator.SetTrigger("Idle");
            animator.SetFloat("Speed", 0);
        }
        {
            dollyCart = GetComponent<CinemachineDollyCart>();
            Debug.Log("dollyCart : " + dollyCart?.ToString());
            dollyCart.m_Speed = 0;
        }
    }

    // Update is called once per frame
    void Update()
    {
        if(dollyCart?.m_Position >= 1.0)
        {
            animator.SetFloat("Speed", 0);
            dollyCart.m_Speed = 0;
        }
    }

    public void StartToComing()
    {
        animator.SetFloat("Speed", targetSpeed);
        dollyCart.m_Speed = targetMovingSpeed;
    }
}
最後にこのスクリプトのStartToComingメソッドを呼び出して動作すれば成功です。今回はMRTKというツールキットに付属のボタンを押した際に移動を開始するようにしました。ボタンの[Events]-[OnClick()]に設定しています。